

This guide shows you how to use Streamlabs Desktop. You will learn how to set up your camera, show your screen, and start a live stream.
Set up Streamlabs Desktop
When you open Streamlabs Desktop for the first time, follow these steps to set up your account:
- Allow the app to use your camera and microphone.

- Select how you plan to use the app. For example, select if you want to stream live or record videos.
- Select your skill level.

- Select Continue.
- Sign in with your Streamlabs ID or your streaming account.

- If you used OBS Studio before, you can import your old settings. If you do not have old settings, select Start Fresh.

- Choose a theme for your stream.

- Select Choose Ultra to buy a paid plan, or select Starter to use the free version.
Add your camera and microphone
You need a camera and a microphone to talk to your viewers.
To add a camera:
- Go to the Sources section.
- Select the plus sign (+).

- Select Video Capture Device, and then select Add Source.

- Select your camera from the list.

- You can now Close out of this window.
To add a microphone:
- Go to Settings ⚙️
- Select Audio.
- Click on the Mic/Auxiliary Device 1 dropdown and select your microphone from the list.
Share your screen
You can show your computer screen or your video game to your viewers.
- Go to the Sources section.
- Select the plus sign (+).
- Go to Capture Sources, and select one option that makes the most sense for you:
- Display Capture: Shows your entire computer screen.
- Window Capture: Shows only one app window (like a browser).
- Game Capture: Shows full-screen video games automatically.
- Screen Capture (recommended): Shows an easy, auto-fitted view of your screen. This allows you to easily switch between the other three capture methods if you have it available.
- Select Add Source.
- If prompted, type in a name for the source.
- Select what you want to see from the dropdown or cards.
- Select Done.
Important Note: Only share windows that you want others to see. Close private windows before you go live.
Add widgets
Widgets are special tools that appear on your screen. An Alert Box is a widget that shows a message when someone follows you or gives you money.
- Go to the Sources section.
- Select the plus sign (+).
- Select Alert Box.

- Select Add Source.
Now, viewers will see an alert on the screen when they follow or subscribe to your channel.
Record a video or start a live stream
When your screen is ready, you can record a video or stream live to the internet.
To record a video:
- Go to Settings, and then select Output. Here, you can choose where to save your video files on your computer.

- Select the red Record button at the bottom right corner to start.
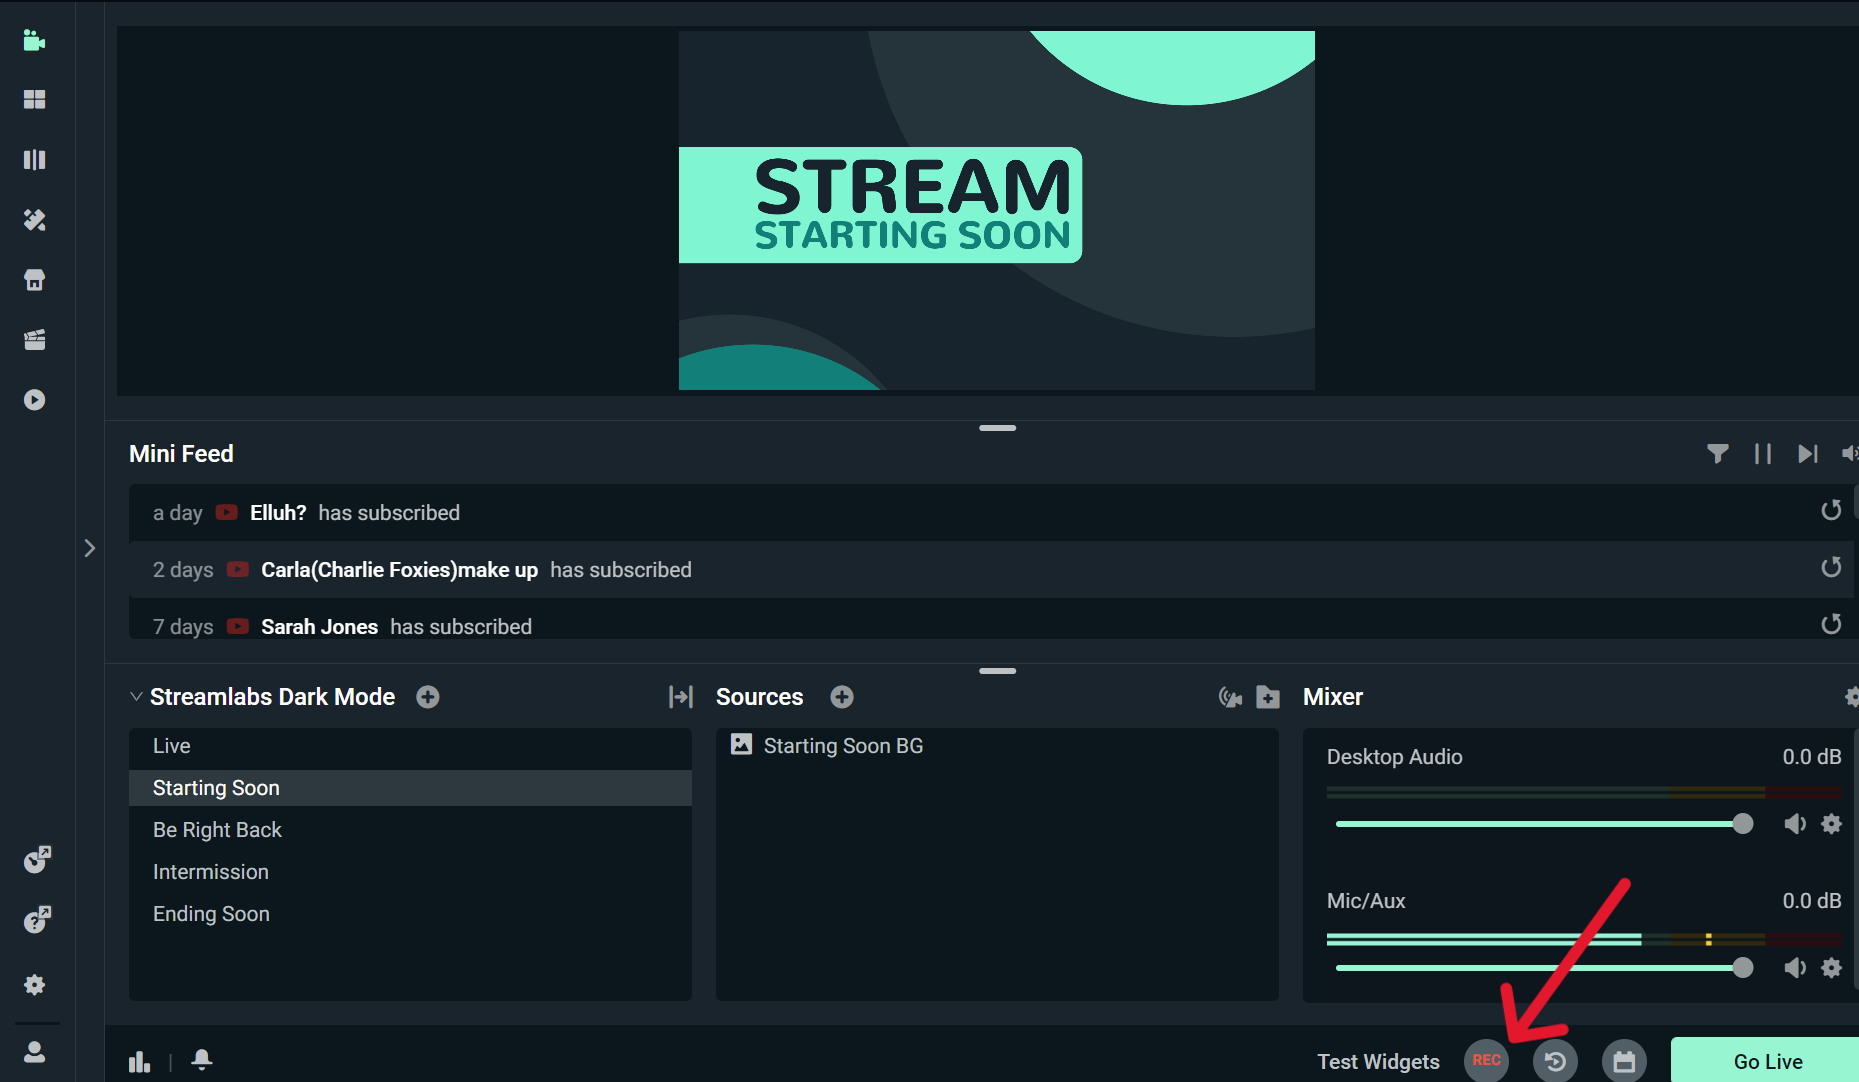
- Select the Record button again to stop.
To start a live stream:
- Select the Go Live button at the bottom right corner.

- Select your streaming platform.
- Type a title and a description for your stream.
- Select Confirm & Go Live.

- To stop your stream, select the red End Stream button.

Customize your stream
You can add more designs and tools to make your stream look better.
- Stream overlays: Overlays add art and borders to your screen. You can find many overlays in the Streamlabs library.

- Streamlabs App Store: You can download extra tools from this store. For example, you can get apps to play safe music or change your stream design.

0 Comments