Overlays are an easy way to personalize your live stream and boost viewer engagement. From holiday-themed collections to reactive overlays that respond to your gameplay, the Streamlabs Overlay library has something for everyone. Whether you use Streamlabs Desktop or OBS Studio, adding overlays can be simple and fast.
This guide covers the step-by-step process for each method, so you can choose what works best for your workflow.
Jump Ahead:
- How to Add an Overlay in Streamlabs Desktop from the Library
- How to Import an Overlay into Streamlabs Desktop
- How to Manually Add an Overlay into Streamlabs Desktop
- How to Add a Streamlabs Overlay to OBS (with Plugin)
- How Add a Streamlabs Overlay to OBS (without Plugin)
How to Add an Overlay in Streamlabs Desktop from the Library
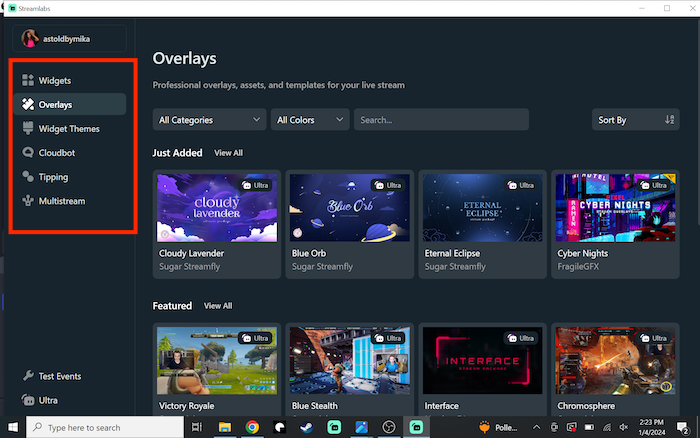
Step 1: Go to streamlabs.com/library. Here you’ll find our vast library of overlays you can use on stream.
Step 2: Browse the homepage to find a trending or featured overlay or use the Advanced Search to search by keyword, preferred colors, type and more.
Good to Know:
- Use the Reset Filters to start a new search.
- Use Advanced Search for deeper filtering (by widget type or style).
- You can also search and install overlays directly in the Streamlabs Desktop app.
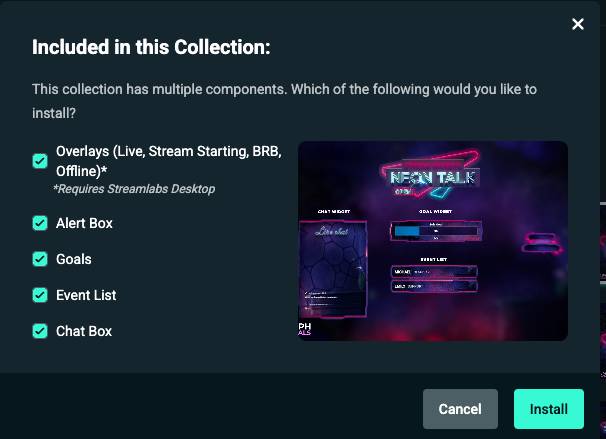
Step 3: When you find an overlay you like, Select it then click Select and Install. Overlays can contain a number of components. Choose which of the components you’d like then click Install.
Step 4: When prompted click Open Streamlabs Desktop. You’d be asked again to confirm the components then install the overlay in one click. Once installed, the overlay will appear automatically in your scene collection.
How to Import an Overlay into Streamlabs Desktop
If you have an existing .overlay file, you can upload it into your Streamlabs Desktop setup.
Step 1: Open your Settings in Streamlabs Desktop.
Step 2: Navigate to Scene Collections and click Import Overlay File.

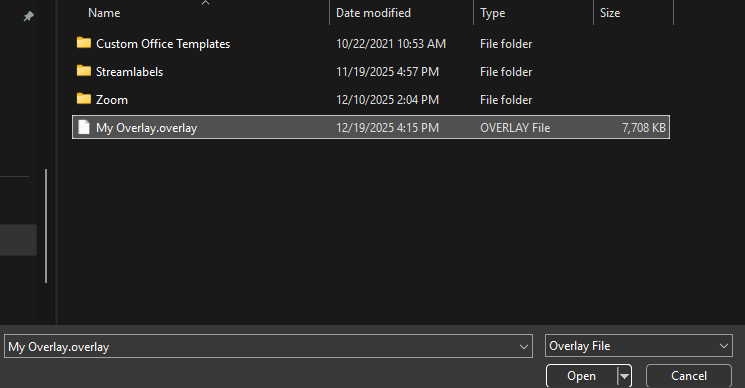
Step 3: Select the .overlay file you want to upload and click Open.
Step 4: You’ll be taken to a loading screen while your overlay imports. Once it’s done, you’ll be taken into your scenes. Make any adjustments you want and you’re set!
How to Manually Add an Overlay into Streamlabs Desktop
We recommend using overlays from professional designers like those available in the overlay library as they give your stream a cohesive look and feel with matching widgets like Alert Box, Chat Box, and much more included. However, if you want to create your own overlays and scenes from scratch, you can do so with the following steps.
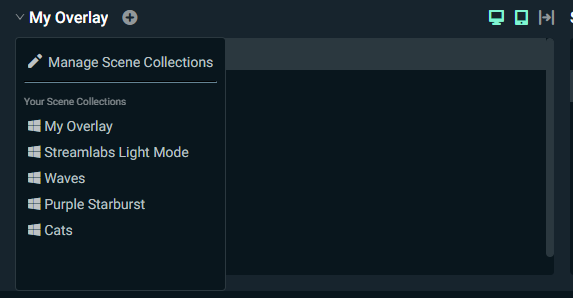
Step 1: Click the name of your current scene and then select Manage Scene Collections.
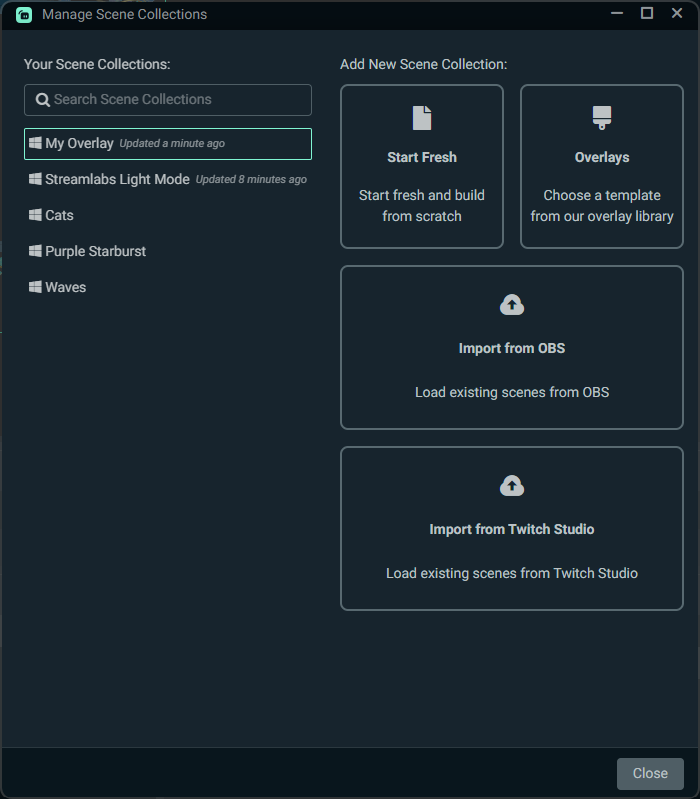
Step 2: Click Start Fresh to create a new scene collection for your overlay.
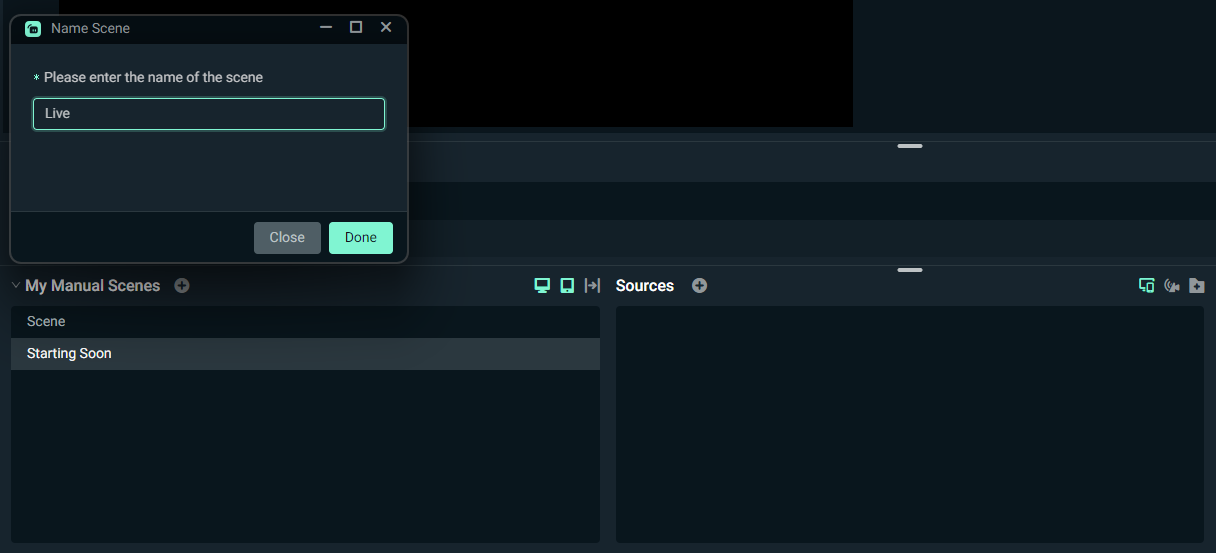
Step 3: Name your scene collection and you will be taken to a blank scene. Create the scenes that you want to have (i.e. Starting Soon, Live, BRB).
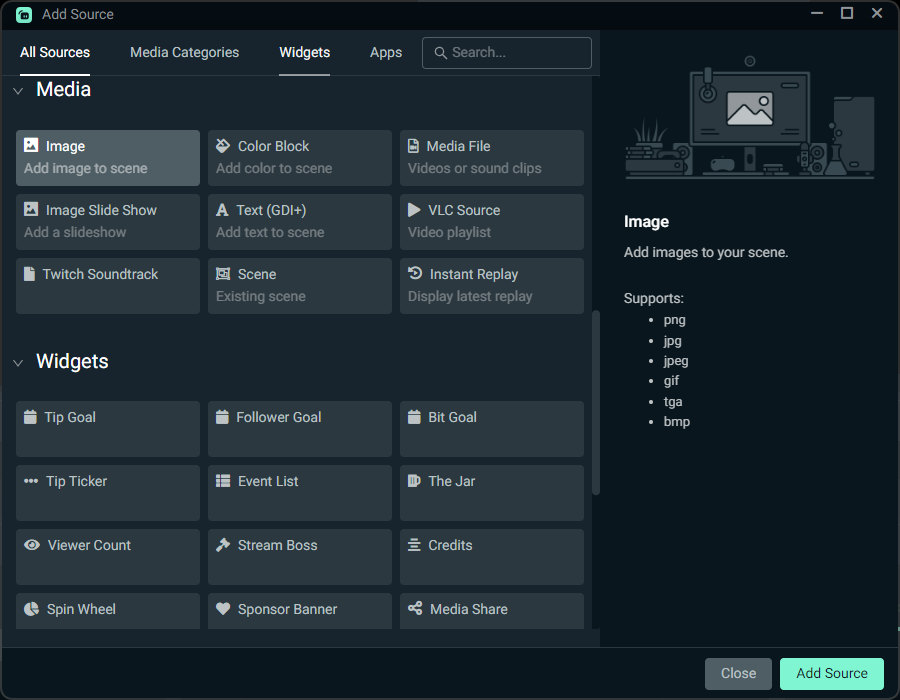
Step 4: Under each Scene, click the + button next to Sources and add Image files for the elements of your overlay. Repeat the process until you have all of the elements you want in your scenes.
How to Add a Streamlabs Overlay to OBS (with Plugin)
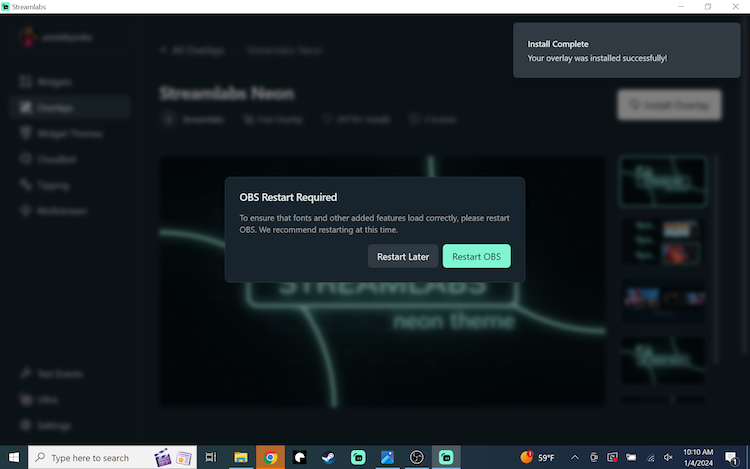
Step 1: Install the Streamlabs Plugin for OBS. You can follow the instructions in our plugin guide.
Step 2: Launch OBS Studio with the Streamlabs Plugin for OBS installed, ensuring you have the latest version of OBS Studio.
Step 3: Click Streamlabs in the top navigation menu to open your plugin settings window.
Step 4: In Streamlabs Settings, go to Overlay.
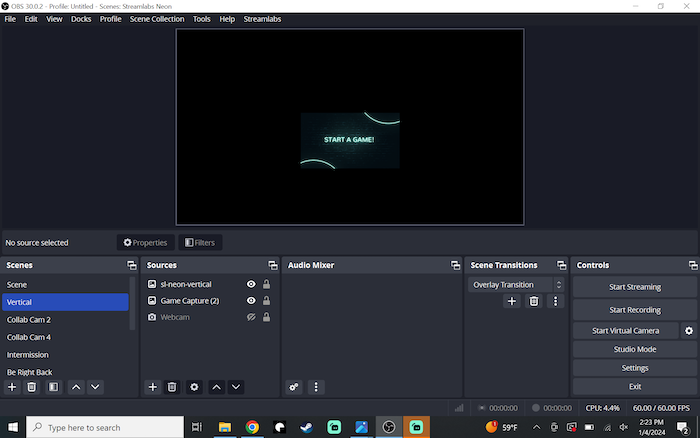
Step 5: Search for your preferred overlay and click Select & Install. The overlay will now appear in OBS Studio.
How to Add a Streamlabs Overlay to OBS without Plugin
While using the Streamlabs Plugin for OBS is the easiest way to add Streamlabs overlays to OBS Studio, you can still transfer overlays without the plugin by importing a Streamlabs scene collection into OBS.
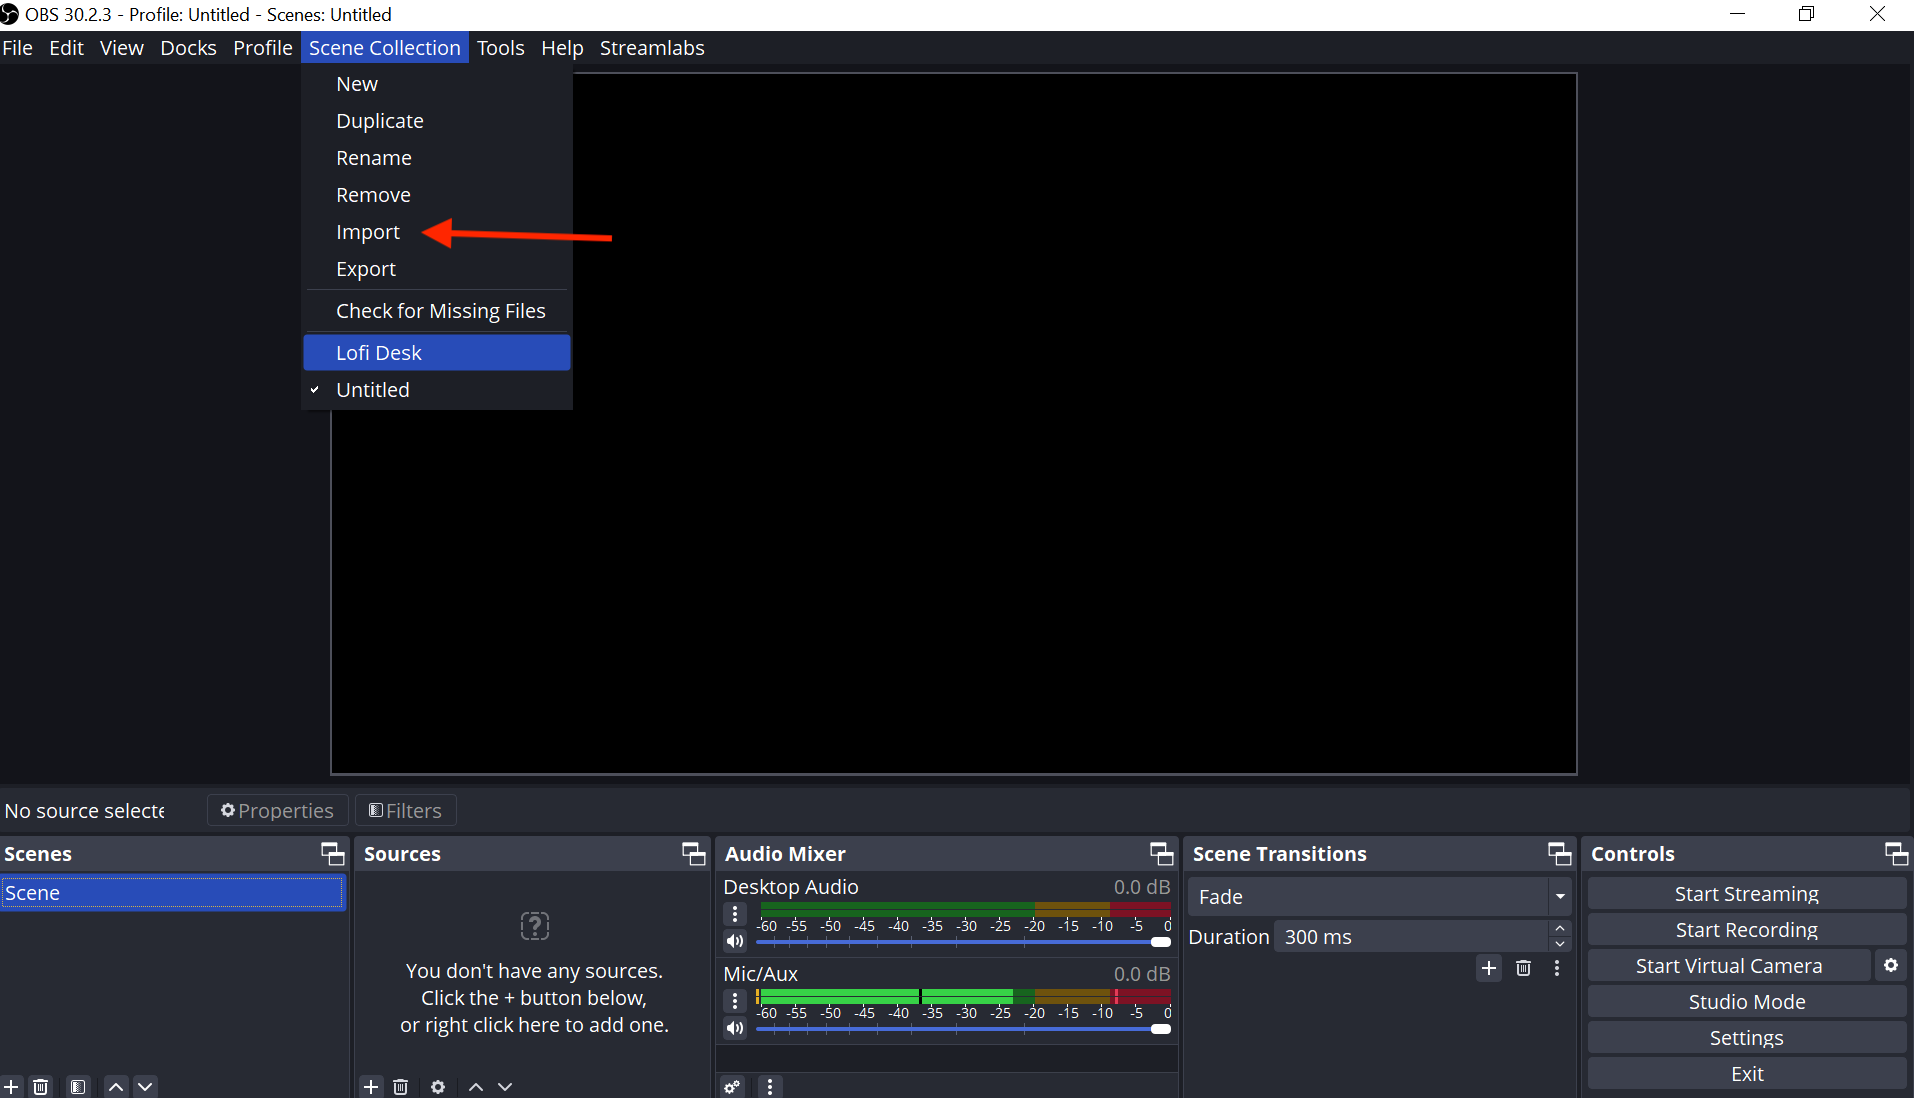
If you’d like to add Streamlabs overlays to OBS Studio without the plugin by importing scenes, we recommend following our detailed step-by-step guide. This resource walks you through the process, ensuring you can transfer your overlays efficiently and set up your stream exactly how you like.
If you have any questions or comments, please let us know by contacting us or joining our Discord server.
0 Comments