Multi-track recording is a useful feature for content creators that like to record and upload footage from their live stream to other platforms like YouTube. Recording multiple audio sources gives you the freedom to pick and choose which audio sources you want to include in your video.
For example, some creators like to use gameplay footage from their live stream but record additional audio commentary later on. Multi-track recording separates desktop audio and audio from microphones into individual tracks. Now you can isolate specific tracks, giving you more possibilities for edits later on.
How to set up
First, we’ll want to choose how many audio tracks will be recorded. Click on the settings cog in the lower left-hand corner of Streamlabs Desktop.
Customize Output Settings
In the settings menu click onOutput, change the mode from Simpleto Advanced, and click on Recording.

Under the Recording tab, you can choose to record up to six separate audio tracks. A variety of additional settings, including your recording path, file type, resolution, encoder and more can be customized from this page, as well.
Note: Please change the recording format to MP4 or MVK to record multiple tracks. The default recording format, .flv, does not support multiple audio tracks.

After selecting the number of tracks you’d like to record, in the Audio tab, you can adjust the bit rate and customize the name of your audio tracks.

It’s also important to note that in the Streamingtab, you can choose which track is sent to your live stream. Since you can only stream one audio track, make sure that everything you want viewers to hear is on that one track, and don’t forget to fine-tune your encoder settings.
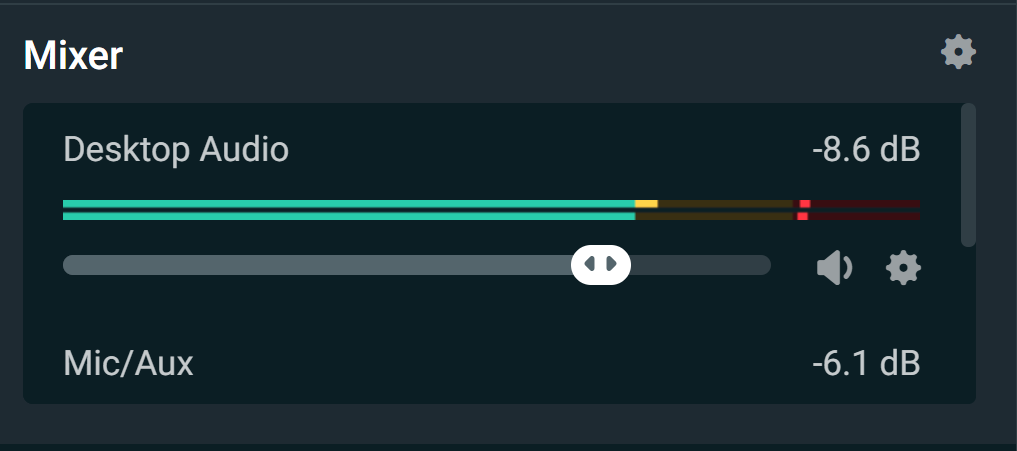
After you’ve adjusted your Outputsettings you can assign specific devices to certain tracks in the advanced audio mixer. Open the advanced audio mixer by clicking on the settings cog in the upper right in the Mixer section.
In this section, you’ll be able to assign each of your audio sources to a specific track. Now, when you record footage and drag it into a video editing software, you’ll see separate tracks.

We’ll be adding a lot more functionality for multi-track recording soon, so stay tuned for updates.
If you have any questions or comments, please let us know. Remember to follow us on Twitter, Facebook, Instagram, and YouTube.

0 Comments